Water damage? Don't wait.
Call (855) 529-0071 — 24/7 emergency help across 17 states. Free inspection, written scope.
Blog
Home » Blog » Structural Drying: How Pros Dry Your Home After Flooding
The structural drying process is what separates a house that fully recovers from flooding from one that develops hidden mold, warped floors, and a musty smell that never goes away. When water gets into your home — from a burst pipe in Minnesota winter, a flash flood in Houston, or an overflowing appliance in suburban Ohio — the visible puddles are only part of the problem. Water wicks deep into drywall, insulation, subflooring, and framing, and it stays there long after the surface looks dry. Professional structural drying uses industrial-grade equipment and moisture measurement to pull that trapped water out systematically, bringing your home's materials back to safe moisture levels before damage becomes permanent.
Understanding how this process works helps you make smarter decisions in the first hours and days after water hits your home — and helps you tell whether a drying job is actually being done right.
Most homeowners assume that once standing water is gone, the problem is solved. It is not. Building materials are porous. A sheet of drywall can wick water upward a full 12 to 24 inches beyond the visible water line. Hardwood floors absorb water through their edges and finish joints, then cup and buckle days later. Carpet padding holds several times its weight in water and turns into a breeding ground for bacteria within 24 to 48 hours. Wall cavities hide moisture that can quietly feed mold colonies for months.
The structural drying process exists to address all of this hidden moisture, not just the water you can see. Crews don't guess when a structure is dry — they measure it. They use moisture meters on walls, floors, and framing and compare readings against dry standards for your specific materials and region. Drying continues until materials reach those target levels, which is why a proper drying job typically takes three to five days, not a few hours.
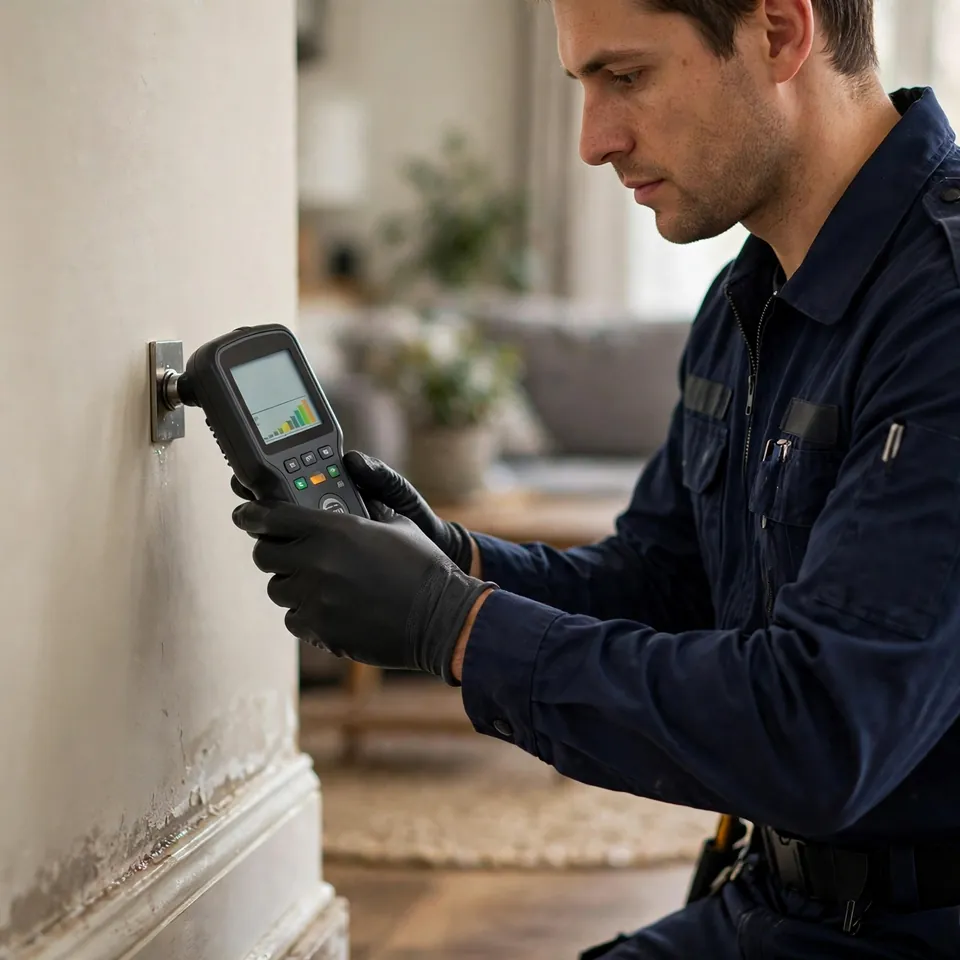
Everything starts with a thorough inspection. A technician walks through the affected areas — and, just as important, the areas that look fine — with two key instruments: a penetrating or pin-type moisture meter and a non-invasive meter that scans through walls and floors without making holes. Infrared cameras are often used too, since temperature differences can reveal wet insulation and wall cavities invisible to the eye.
The crew creates a moisture map of your home, documenting which materials are wet, how wet they are, and exactly where the moisture boundary ends. This map drives every later decision: where to place equipment, how much equipment is needed, and which materials can be saved versus which must be removed. It also creates a documented record that is extremely useful if you later file a water damage insurance claim — moisture maps and daily readings are exactly the kind of evidence adjusters look for.
No drying equipment can do its job while standing water remains. Before structural drying begins, crews remove all standing water using professional water extraction — truck-mounted or portable extraction units, weighted extraction tools on carpet, and pumps for deep water. Extraction removes the bulk of the water fast, often thousands of gallons in a flooding situation, which dramatically shortens everything that follows.
This is also the point where contaminated materials get removed. Carpet padding soaked with category 2 or 3 water (grey or black water) is typically discarded rather than dried, as are wet insulation and any drywall that sat in contaminated water. Understanding water contamination categories matters here, because the category of water determines what can be dried and restored versus what must be torn out for health reasons.
Not every job requires tearing things out, but many do. Wet drywall that has absorbed water above the baseboard line is often cut away — typically 12 to 24 inches above the highest moisture reading — to expose the wall cavity behind it. This lets air move through the cavity so the studs and plates can dry, and it removes drywall that would otherwise crumble or grow mold.
Flood cuts are common in serious flooding scenarios, such as homes hit by hurricane storm surge in Florida or river flooding in the Midwest. Trim and baseboards are removed, cabinet toe-kicks are opened or cabinets pulled away from walls, and wet insulation is bagged and removed. If a sewage backup is involved, porous materials in the affected area almost always go — see the health reasons in our guide to sewage backup health risks.
A good crew is surgical about demolition: they remove exactly what needs to go to allow drying, and no more. Everything removed is documented with photos.
Once water is extracted and necessary removal is done, the real drying begins. The workhorse of the structural drying process is the centrifugal air mover — a compact, high-velocity fan engineered to push air along surfaces at very specific angles and speeds. Air movers are positioned every few feet along wet walls and floors, aimed so airflow hugs the surface rather than blasting randomly into the room.
The physics is straightforward: moving air across a wet surface constantly replaces the thin layer of humid air sitting right against it, accelerating evaporation. But "more fans" is not automatically better — placement, angle, and the ratio of air movers to dehumidifiers are what make drying efficient. Too many air movers with not enough dehumidification just pushes humid air around. Professional crews size the system based on the moisture map and the cubic footage of the affected space.
Evaporation moves moisture from materials into the air, but that moisture has to go somewhere. Dehumidifiers do that job. Commercial refrigerant dehumidifiers cool air to condense water vapor, while large desiccant dehumidifiers use moisture-absorbing materials for bigger jobs and cold environments (desiccants keep working when temperatures drop too low for refrigerant units to be efficient).
The dehumidified air is recycled back into the drying chamber, and the cycle continues: wet air out of the materials, dry air blown across the surfaces, moisture condensed and drained away. In a typical residential job, a crew might run a dozen or more air movers with two or three commercial dehumidifiers. The collected water drains into sinks or pumps out through hoses, and the daily volume removed is logged as another data point in the drying record.
Containment is a big part of this step. Crews often seal off the affected area with plastic sheeting to create a drying chamber — this keeps the dehumidifiers working on a defined volume of air instead of trying to dry your entire house, and it prevents moisture (and mold spores, if present) from migrating to unaffected rooms.
Some materials need targeted techniques beyond open-air drying:
This is also where professional structural drying pays for itself: saving hardwood, cabinets, and drywall through proper drying is vastly cheaper than replacing them.
Structural drying is not a "set it and forget it" operation. Crews return daily to take moisture readings at the same documented points, check temperature and humidity levels, and adjust or reposition equipment. A drying log records every reading, and that log tells the story of whether materials are drying on schedule or whether the plan needs changing — more dehumidification, different air mover placement, or additional removal of stubborn materials.
Typical drying timelines:
Temperature and humidity matter enormously. Drying in a humid Florida summer is slower than in dry Arizona winter air. Cold basements in the Northeast dry more slowly than warm rooms. A competent crew accounts for all of this rather than quoting you a flat "three days" before seeing the job.
The job ends when the numbers say it ends. Final moisture readings must show that all affected materials have returned to dry standards — typically within a few percentage points of unaffected materials in the same home. The crew documents final readings, photographs the dry structure, and provides a drying report.
This report matters more than most homeowners realize. It is your proof that drying was completed properly, and it protects you in two ways: it documents for your insurance carrier that mitigation was thorough (which supports your claim), and it gives any future buyer or contractor evidence that the water damage was handled professionally. If mold is found during the process, the drying plan may need to coordinate with mold remediation — mold can begin growing within 24 to 48 hours of water exposure, which is why speed matters so much.
Costs vary by region and severity, but here's a realistic comparison of professional drying versus the DIY approach for a typical affected area:
| Factor | Professional Structural Drying | DIY Drying |
|---|---|---|
| Equipment | Commercial air movers + dehumidifiers (sized to the job) | Household fans, maybe a rental dehumidifier |
| Moisture measurement | Daily meter readings against documented dry standards | Guessing by touch and appearance |
| Typical timeline | 3–5 days to verified dry | Weeks of partial drying, or "dry enough" |
| Hidden moisture | Detected with meters and infrared | Almost always missed in walls and cavities |
| Mold risk | Low — moisture removed before colonies establish | High — surface looks dry while cavities stay wet |
| Cost range | $1,000–$4,000+ for typical residential jobs | $200–$800 in rentals, plus potential mold and replacement costs later |
| Insurance documentation | Drying logs and moisture maps support claims | No documentation trail |
The honest math: professional drying costs more upfront, but a mold problem or a warped hardwood floor discovered six months later costs far more. Every day of delay lets moisture migrate deeper and gives mold a longer head start.
Watch for these warning signs whether you're hiring help or evaluating equipment a contractor left running:
Call at the first sign of significant water intrusion — not after you've spent a weekend with fans. The first 24 to 48 hours are the window where the most material can be saved and mold can be prevented rather than remediated. Water from burst pipes, appliance failures, roof leaks during storms, and any flooding that covers flooring or reaches walls all call for professional drying.
Water Damage Cleanup Now connects you with local water damage crews around the clock. If your home is wet right now, call (855) 529-0071 — the sooner drying starts, the more of your home can be saved.
Good to know
Most residential drying jobs take 3 to 5 days of continuous equipment operation, with daily monitoring visits. Minor leaks in a single room may finish in 2 to 3 days, while whole-floor flooding or saturated concrete slabs can take a week or more. The job is done when moisture meter readings return to dry standards, not when surfaces feel dry — that's why a professional drying plan beats guessing every time.
Household fans and a rental dehumidifier can help with very minor, clean-water spills caught immediately, but they can't replicate the structural drying process. Consumer equipment lacks the airflow velocity, capacity, and — most importantly — moisture measurement that makes professional drying verifiable. Without meter readings, you have no way to know whether wall cavities, subfloors, and insulation are actually dry, and that hidden moisture is what grows mold.
Not always. Drywall that got wet from clean water and dried quickly can often be saved. But drywall that wicked water up from the baseboard, sat in contaminated water, or stayed wet for days typically needs a "flood cut" — removing the bottom 12 to 24 inches so the wall cavity behind it can dry. A good crew removes only what must go and documents everything.
The core setup is commercial centrifugal air movers plus high-capacity dehumidifiers (refrigerant or desiccant, depending on conditions), supplemented by moisture meters, infrared cameras, specialty hardwood floor drying mats, wall cavity injection systems, and containment barriers. HEPA air scrubbers may be added when mold is a concern or contamination is present.
Final moisture readings. The crew should show you documented readings proving affected materials returned to dry standards comparable to unaffected areas of your home. Ask for the drying log — it records every reading taken throughout the job and is valuable documentation for your records and any insurance claim.
In most cases, yes — professional drying and water mitigation are typically covered when the water damage itself is a covered loss (like a burst pipe or sudden appliance failure). Coverage details vary by policy and cause of loss, so document everything and review our guide to the [water damage insurance claim](/blog/water-damage-insurance-claim/) process before you call your carrier. Water Damage Cleanup Now can connect you with local crews who handle the full structural drying process — inspection, extraction, drying, and documentation. Call **(855) 529-0071** any time, day or night, to get help on the way.
Call (855) 529-0071 — 24/7 emergency help across 17 states. Free inspection, written scope.